DIY Sea Moss Soap (Cold Process)
If you have some wild-crafted sea moss on your hands and are keen to try making your own homemade sea moss skin care items, you’re in luck!
In today’s article, we’ll describe the authentic method of making sea moss soap (cold process), starting from the basics. Understanding how to make sea moss soap is a delightful way to utilize your sea moss and offers numerous advantages for skin wellness.
So let’s get started!
The Benefits of DIY Sea Moss Soap
Creating sea moss soap at home offers numerous advantages compared to buying it from a store. To start with, it costs less than purchasing it, and additionally, you can determine its exact ingredients and create your own scents.
Sea moss is rich in vital minerals like calcium, magnesium, iodine, potassium, and sulfur, which can aid in hydrating and revitalizing the skin. Consistent use of sea moss soap as a cosmetic can assist in preserving a more youthful look.
Moreover, sea moss soap not only feels gentle on the skin, but it also aids in restoring moisture and soothing dry and itchy skin. It helps reduce symptoms related to skin issues, such as redness, itching, and inflammation.
Thanks to its high collagen levels, sea moss soap is a great option for enhancing skin elasticity. As a natural cleanser, sea moss soap effectively eliminates impurities and excess oils from the skin without disrupting the natural oils that maintain skin health.
Making Sea Moss Soap at Home
Here’s what you need and the steps to follow for making your own sea moss soap.
Ingredients:
-
Distilled water
-
Lye (sodium hydroxide)
-
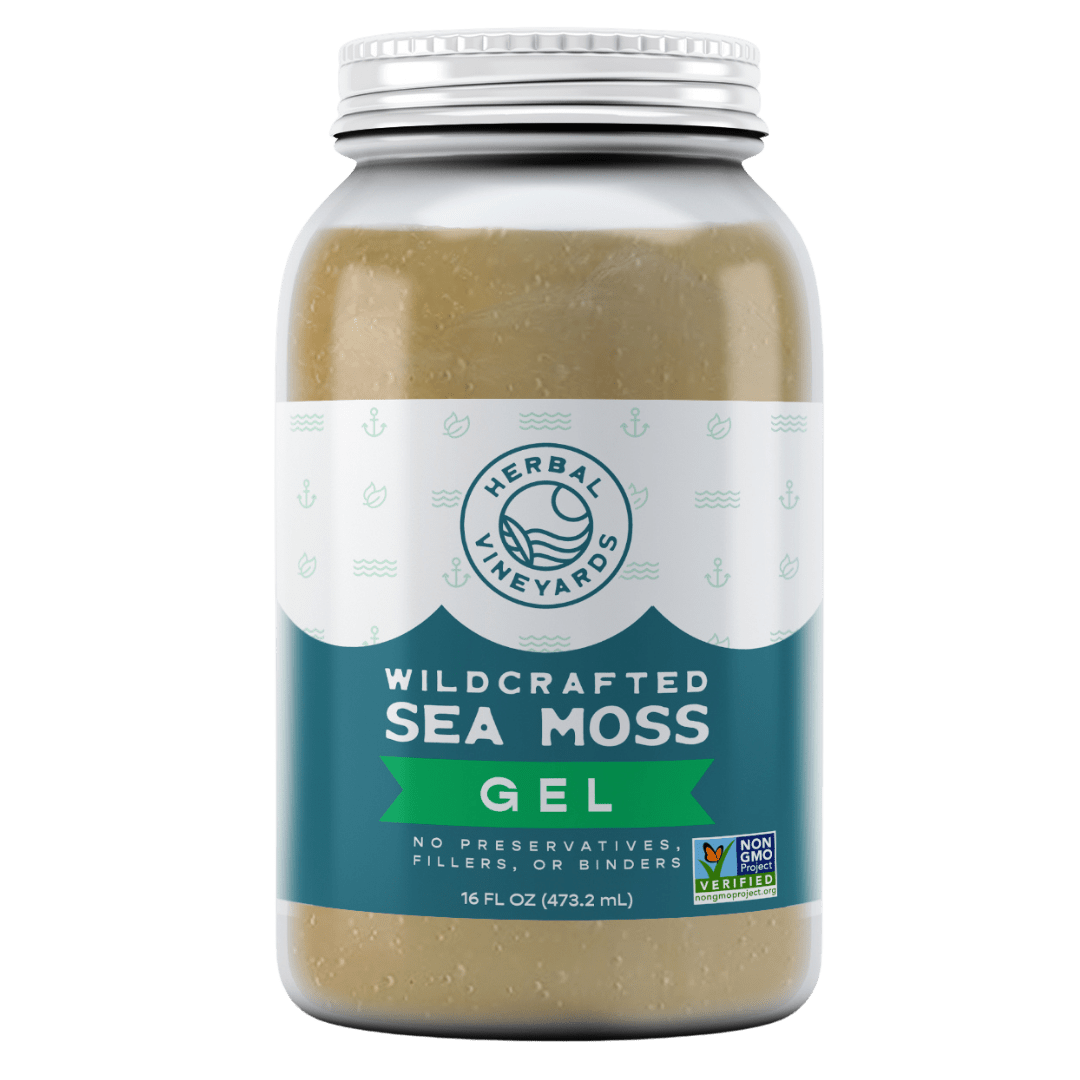
Sea moss gel
-
Fat or oil of your choice (e.g. coconut oil, Shea butter, olive oil, cocoa butter, lard)
-
Essential oils (e.g. peppermint, lavender, citrus, eucalyptus, tea tree oils)
-
Additional additives (colorant and fragrances)
Method:
-
Creating the Soap Base (Cold Process)
-
Since the reaction between sodium hydroxide and the oils, it is important to ensure that you are in a properly ventilated space. Additionally, think about using a suitable mask and gloves.
-
You’ll need to use an online soap calculator to find out the exact amount of sodium hydroxide and oil required. To utilize a soap calculator, it’s essential to identify the type of oil you’ll be using, the characteristics of the soap you intend to create, and the batch size.
-
Once that’s done, take a container of distilled water. Add the sodium hydroxide to the water. Always avoid adding water to the sodium hydroxide, as the reaction may rapidly become uncontrollable.
-
Then, mix your selected oils or fats in another container. Ensure you utilize a heat-resistant container, and combine the oils until they become a liquid.
-
You need to let both the lye solution and the oils cool to a temperature of approximately 100°F. When both solutions are prepared, you can begin the saponification process. To achieve this, gradually and cautiously, add the sodium hydroxide solution to your oil while stirring. This is your soap foundation.
Next, it’s time to get ready and incorporate the sea moss along with other additives.
-
Making The Soap from the Base
-
Start incorporating your sea moss gel into the soap base. Use a maximum of 1 tablespoon of sea moss gel for every 4 ounces of soap base. The greater the amount of gel you incorporate into the mixture, the more concentrated it becomes. Keep stirring the sea moss gel until it is completely blended into the soap.
-
Since essential oils and fragrances usually evaporate at lower temperatures, incorporate them at the end. Introduce a few drops gradually and mix them into the base until you reach your preferred scent.
-
Add any desired coloring and other additives while the mixture is in liquid form. If you wish to incorporate exfoliants or a hydrating oil, you can do that now.
-
When your base is prepared, move it into your mold. At this point, the soap base should remain in liquid state, allowing it to easily pour into the mold. Once the mold is filled, be sure to tap the surface beneath the mold to eliminate any trapped air bubbles.
-
Once the soap has fully hardened, take it out of the mold. Soap made at home is typically more delicate than commercially purchased soap. Therefore, ensure that you treat it gently since it hasn’t completely cured yet. It might require up to 6 weeks to cure fully. Allow the soap sufficient time for the saponification process to make certain that it lasts longer.
Conclusion
Making sea moss soap isn’t that complicated. Start by preparing or purchasing sea moss gel, melt a soap base, mix the two together with optional ingredients such as essential oils, fats and colorants, and transfer the mixture to a mold to solidify - it’s as easy as that!
So, buy pure and organic sea moss gel from Herbal Vineyards and prepare your natural sea moss soap at home free of harmful chemicals and preservatives.


